Getting Started

Web Serial Terminal

Connecting to the device

Connect the device to the computer using a USB cable. The status light of the device should start blinking every 2 seconds.

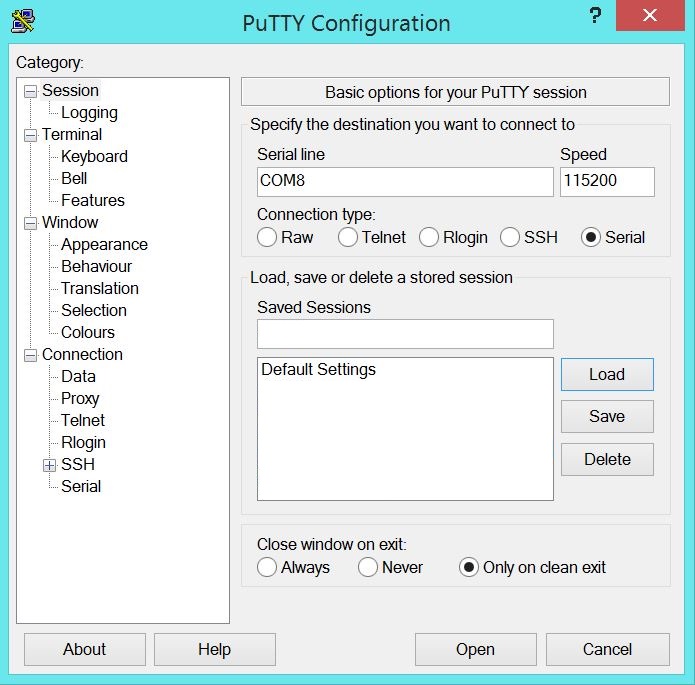
Opening the web serial terminal

Click the "Connect" button on the Web Serial Terminal page.

Running command

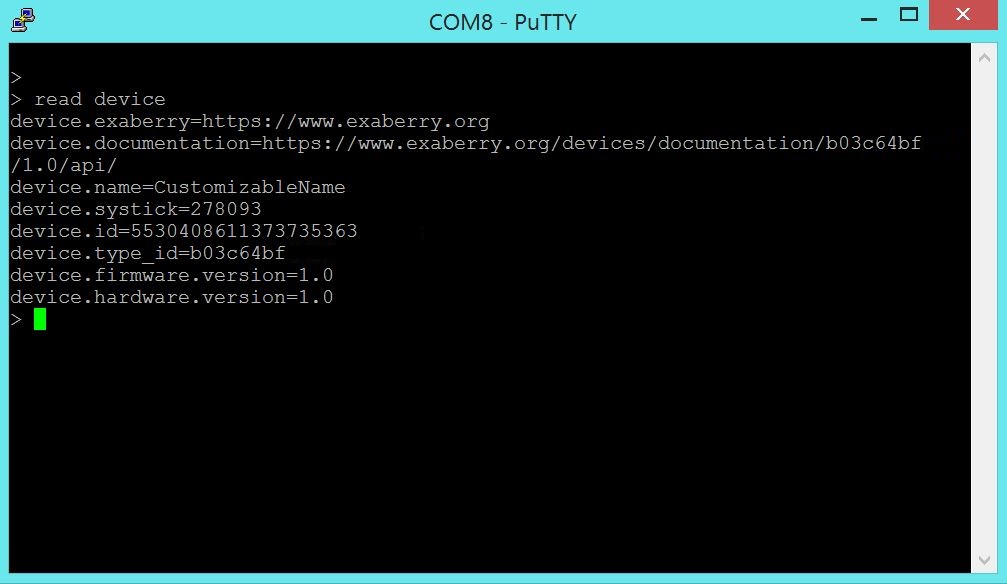
We can read the "device" property by typing the following command in the web serial terminal:

read device

web_serial_cmd

Windows

Connecting to the device

Connect the device to the computer using a USB cable. The status light of the device should start blinking every 2 seconds.

Installing serial port client

You can download and install the Putty as the serial port client.

If you are using Windows8, you need to install a USB serial port driver.
Finding device port

Open the "Device Manager" panel.

device_manager

The device should appear under the "Ports (COM & LPT)" row.

The name of the device is "GD32 Virtual COM Port (COMX)".

The "COMX" is the serial port number of the device, where "X" is a number.

Opening the device in a client

Click open the Putty client

Select "Serial" for the "Connection type"

Enter the serial port number we got from the previous step in the "Serial line" box

Set the "Speed" to be 115200

Click "Open" button

After entering the Putty client, You can type an "enter" to bring up the > symbol

putty_config
Running command

We can read the "device" property by typing the following command in the Putty terminal:

read device

putty_cmd

Linux

Connecting to the device

Connect the device to the computer using a USB cable. The status light of the device should start blinking every 2 seconds.

Installing serial port client

You can install the GNU Screen as the serial port client.

On a Ubuntu machine, you can type sudo apt install screen

ubuntu_install_screen
Finding the device path

You can list all the TTY devices by typing ls /dev/tty* in a terminal.

The Exaberry device should have a name like /dev/ttyACMX, where X is a number.

You can run ls /dev/tty* | grep ACM to narrow down to only the USB ACM devices.

If you got multiple choices, the path showing up after plugging in the device is the path we want.

ubuntu_dev
Opening device

You can open the Exaberry device:

sudo screen /dev/ttyACMX 115200

The 115200 is the baud rate of the serial connection. The /dev/ttyACMX is the path to the device you got from the above step.

You need "sudo" to gain access to the serial port

After entering the Screen client, You can type an "enter" to bring up the > symbol

ubuntu_screen_run
Running command

We can read the "device" property by typing the following command in the Screen terminal:

read device

ubuntu_read_device

To exit the Screen client, type Ctrl+A k and select y

Mac

Connecting to the device

Connect the device to the computer using a USB cable. The status light of the device should start blinking every 2 seconds.

Finding the device path

You can list all the TTY devices by typing ls /dev/tty* in a terminal.

The Exaberry device should have a name like /dev/tty.usbmodemXXXXX, where XXXXX is a number.

You can run ls /dev/tty* | grep usb to narrow down to only the USB devices.

If you got multiple choices, the path showing up after plugging in the device is the path we want.

mac_dev
Opening device

We will use the GNU Screen to run the command. The Screen client should already be installed in your Mac.

You can open the Exaberry device:

screen /dev/tty.usbmodemXXXXX 115200

The 115200 is the baud rate of the serial connection. The /dev/tty.usbmodemXXXXX is the path to the device you got from the above step.

After entering the Screen client, You can type an "enter" to bring up the > symbol

mac_screen_run
Command running

We can read the "device" property by typing the following command in the Screen client:

read device

mac_read_device

To exit the Screen client, type Ctrl+A k and select y